Tile templates
New tiles always offer templates:
- Untitled: title and text block;
- Simple note: text block without a title;
- Image: image block with the automatic upload window;
- Task: task type block;
- Table: create a table.
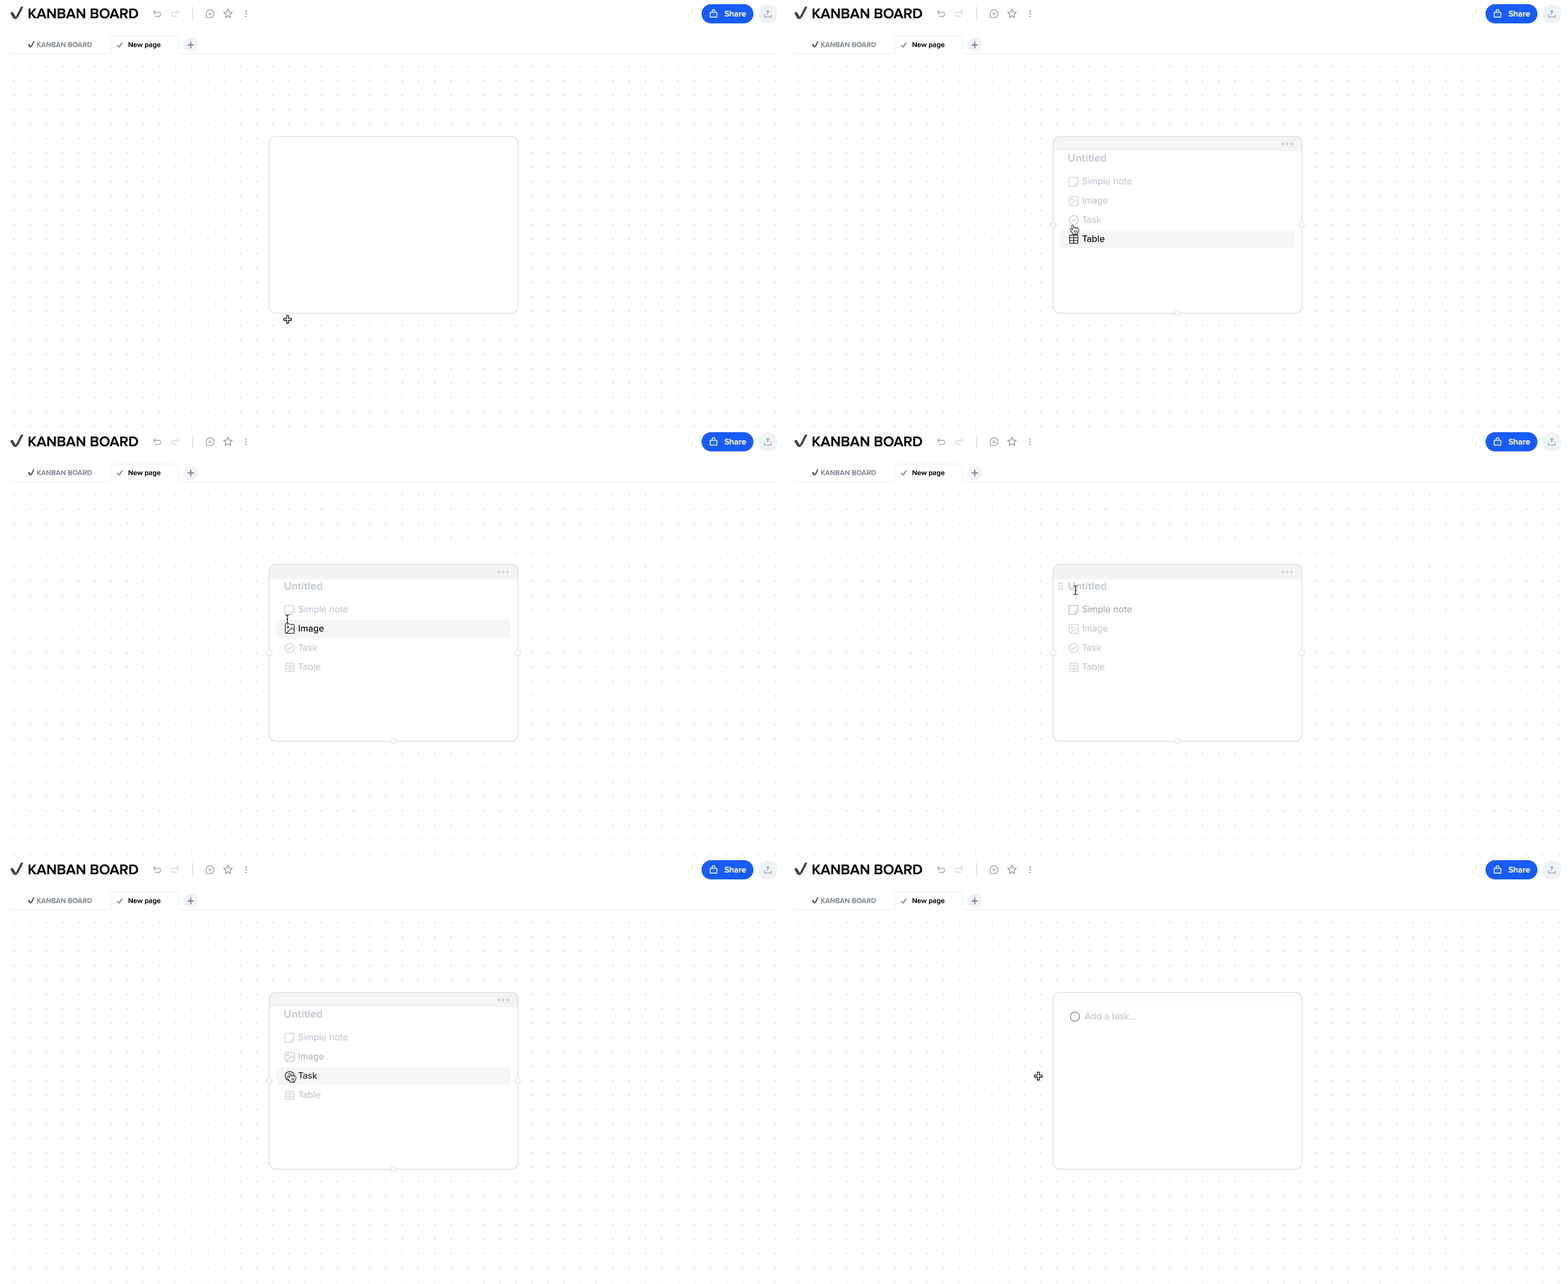
Any choice can be changed as desired.
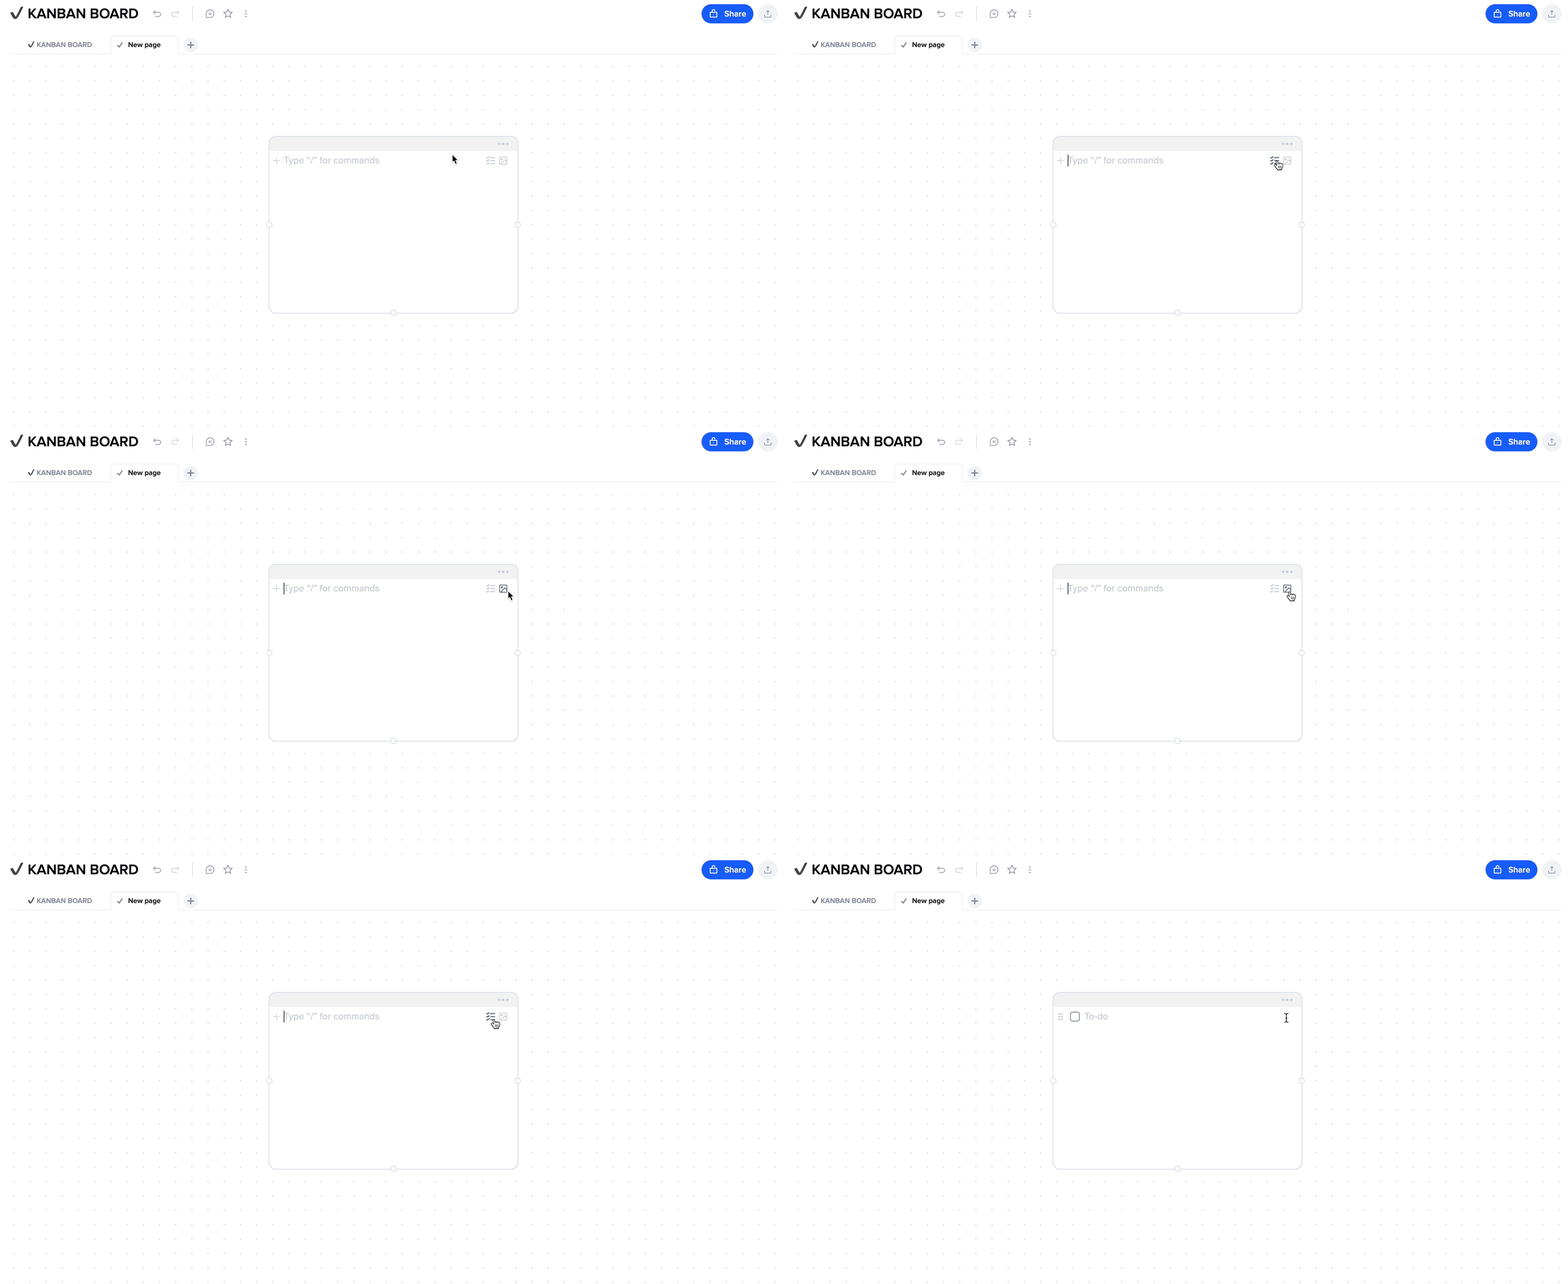
Hover icons, when focused on an empty block, allow you to quickly apply the "image" and "task" types to the empty block in one click.
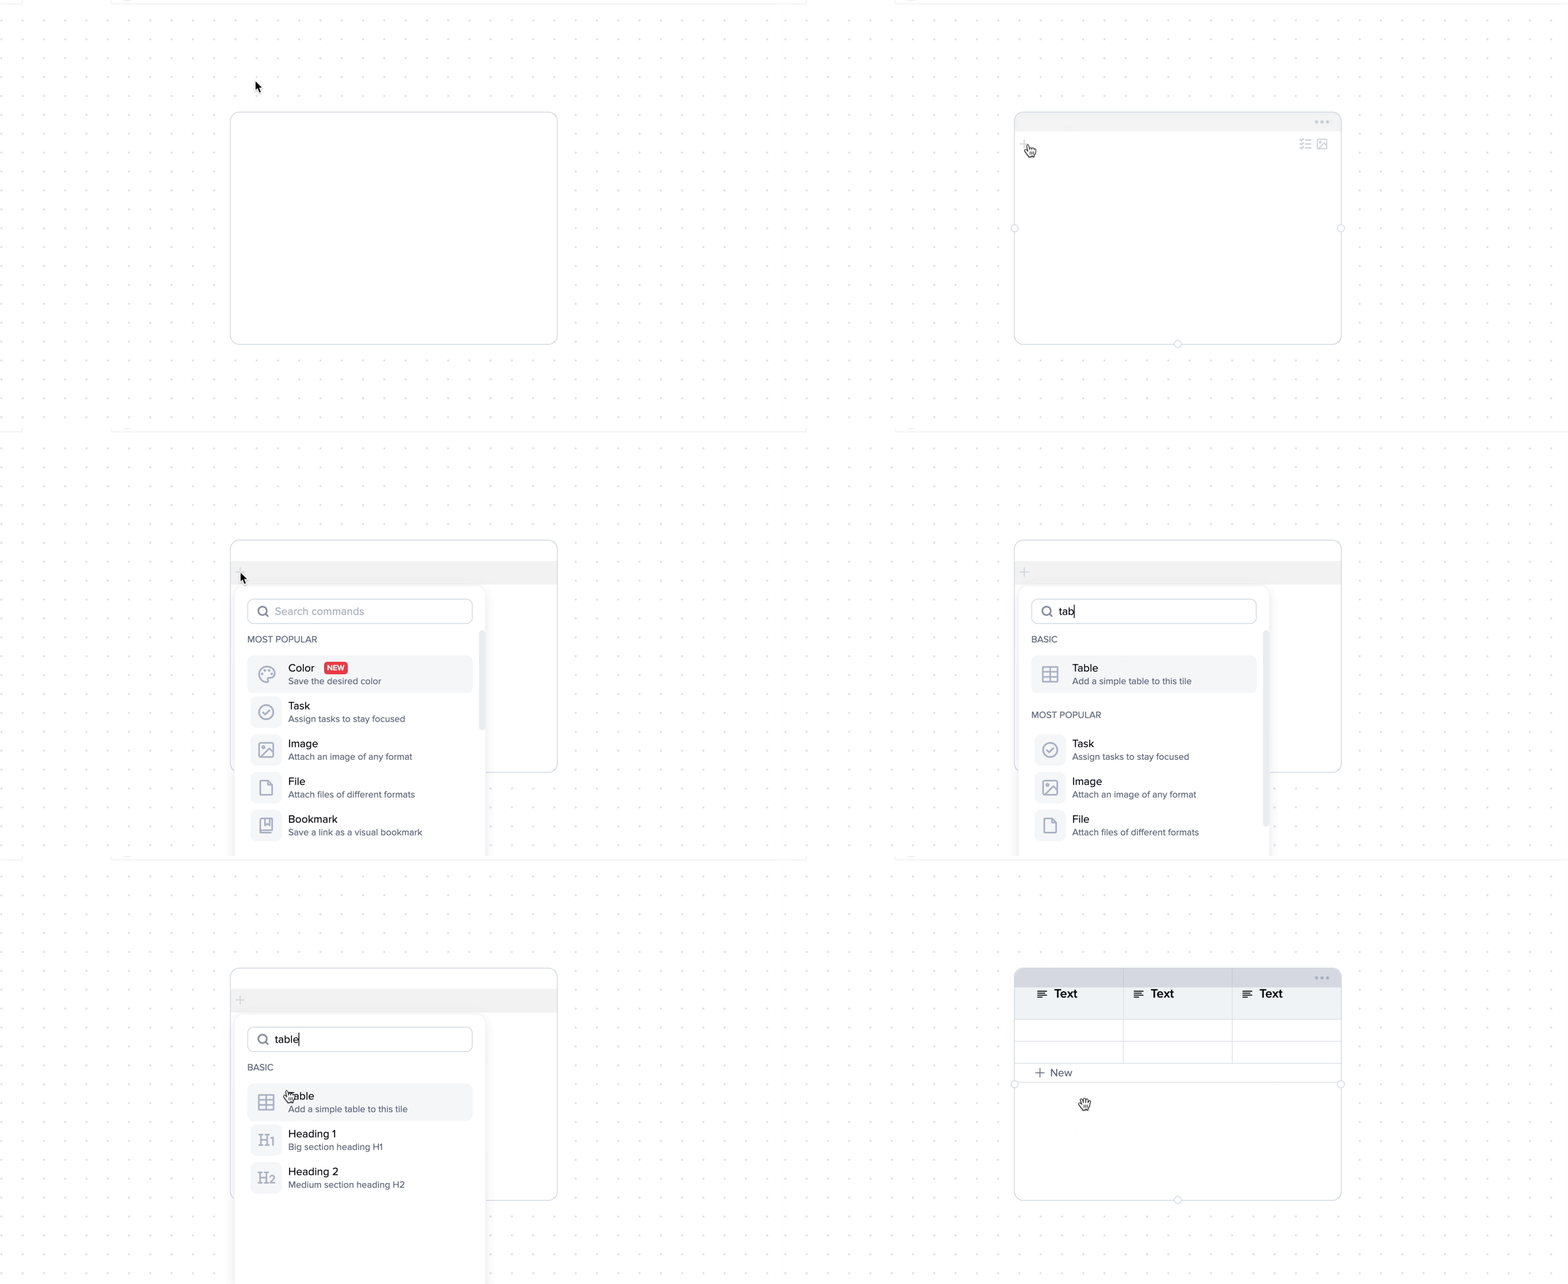
Call-to-action for adding block types
- "+" icon: appears on the left when focused on an empty block.
Click it to open the menu of block types that can be added to your tile.
- As soon as you start typing, a floating menu will appear with real-time search results for what you're looking for. Simply hit enter to select the desired block.
Menu of the block
⋮⋮ An icon that appears to the left every time you hover over the block. Click it to open a menu of actions you can perform with the block:
This icon also serves as a handle that can be used to drag the block.
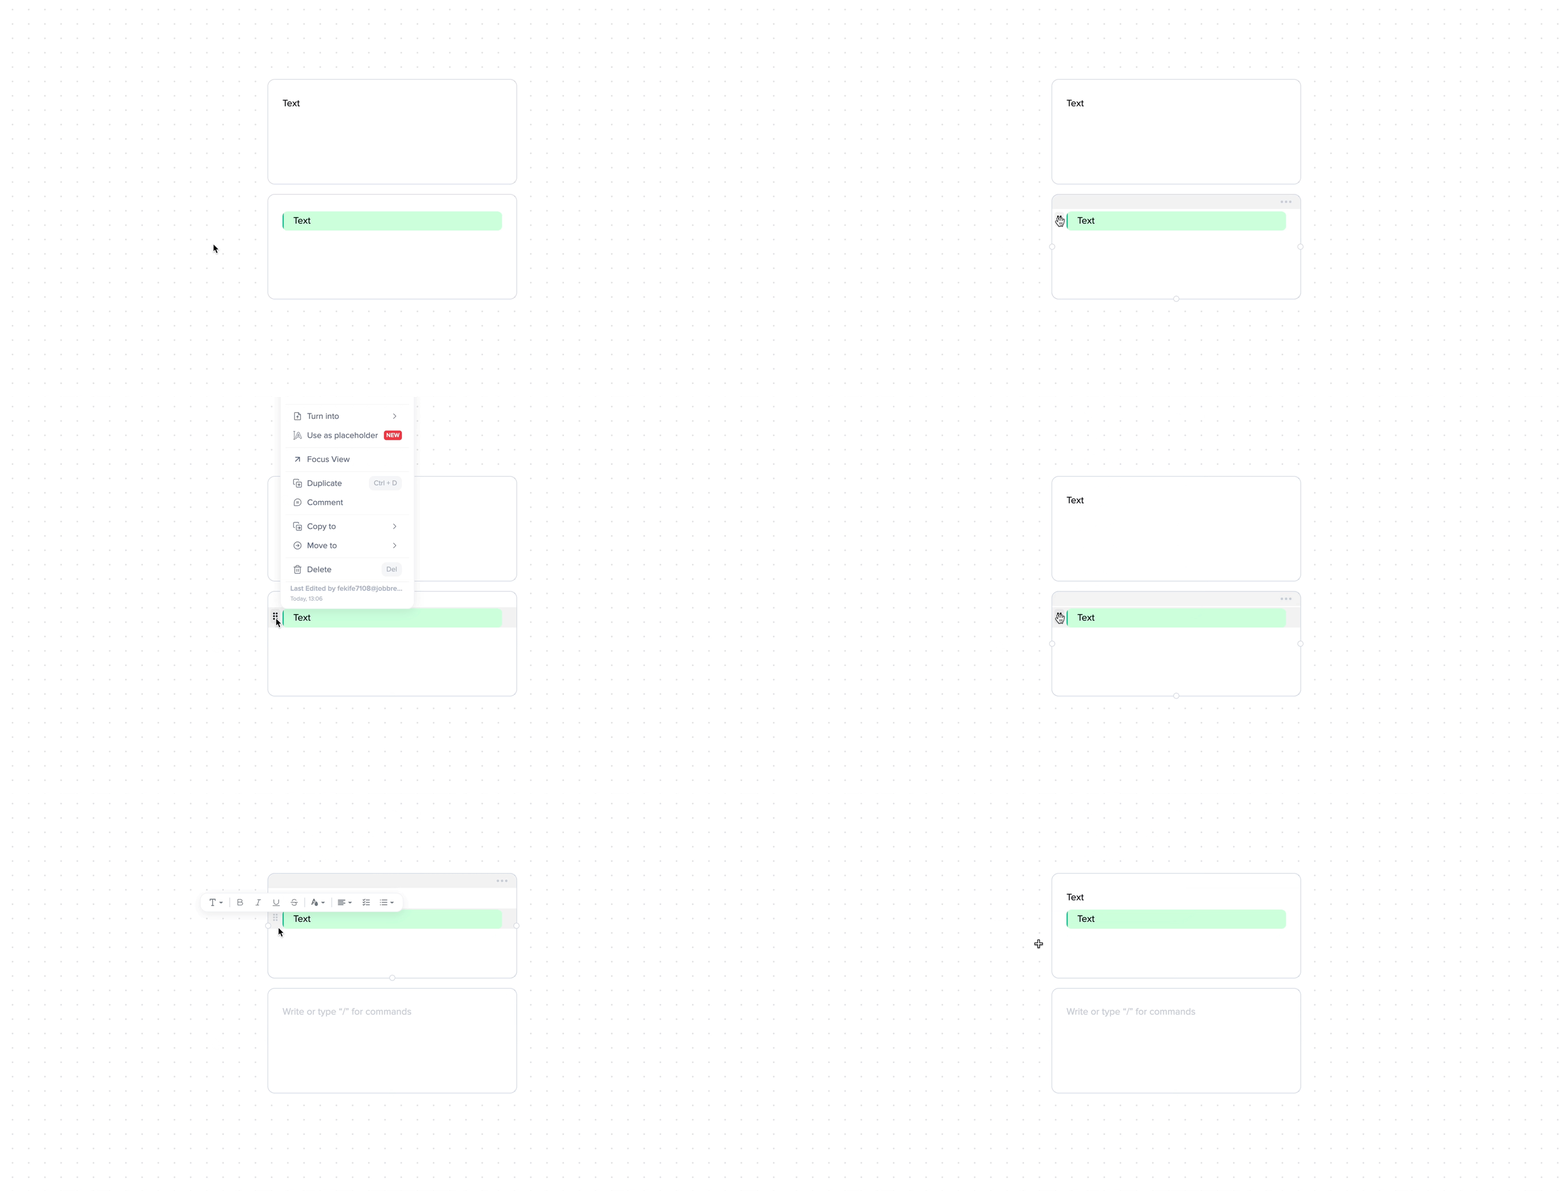
Operations for blocks
- Reactions: You can add reactions to blocks;
- Due Date: A task element, selecting the due date block automatically transforms it into a task block;
- Assign: A task element, selecting the assign block automatically transforms it into a task block.
- Full width on/off: Available for media blocks and tables, allows showing the block without margins;
- Size: Available for media blocks, allows changing the size of the media block;
- Align: Available for media blocks, allows changing the position of the block in the tile.
- Show as: Available for link and embed blocks, allows changing the display type.
- Create sub-page: Turns the block into a sub-page;
- Turn into: Turns the block into a block of a different type (e.g., turning a regular text block into a header);
- Use as a placeholder: Available for text blocks and images, allows using it as a block placeholder in templates.
- Expand block: Available for text blocks, allows expanding the block and adding more detail to it.
- Duplicate: Creates an exact copy of the block content;
- Comment: Allows adding a comment to the block.
- Copy to: Allows copying the block to another page in your project or to Quick Notes;
- Move to: Allows moving the block to another page in your project or to Quick Notes.
- Delete: Deletes the block.
The set of operations may vary depending on the block type.
Types of text content blocks
There are many different types of content blocks that can be added to xTiles. Here is a full list of text content types:
Basic blocks:
- Text: just your plain old simple text;
- Small text: the smallest text size;
- Heading 1: the largest heading size;
- Heading 2: a smaller heading size;
- Quote: creates text with italics and background color to highlight quotes from the rest of your tile;
- Table: creates a set of columns with properties and settings, and rows;
- Task: creates a task block, which will start to appear on the task panel. The shortcut is "()" + spaces;
- Toggle list: creates switches that can be opened to nest content and closed to hide it. Keyboard shortcut: ">" + space;
- To-do list: check boxes for tasks. Keyboard shortcut: "[]" + space;
- Bullet list: Keyboard shortcut: "-" + space;
- Numbered list: indents in a list and automatically generates the next number;
- Red, Green, Blue, Yellow banners: a block with a colored background.
Text styles
Here are the basics of formatting your text in xTiles.
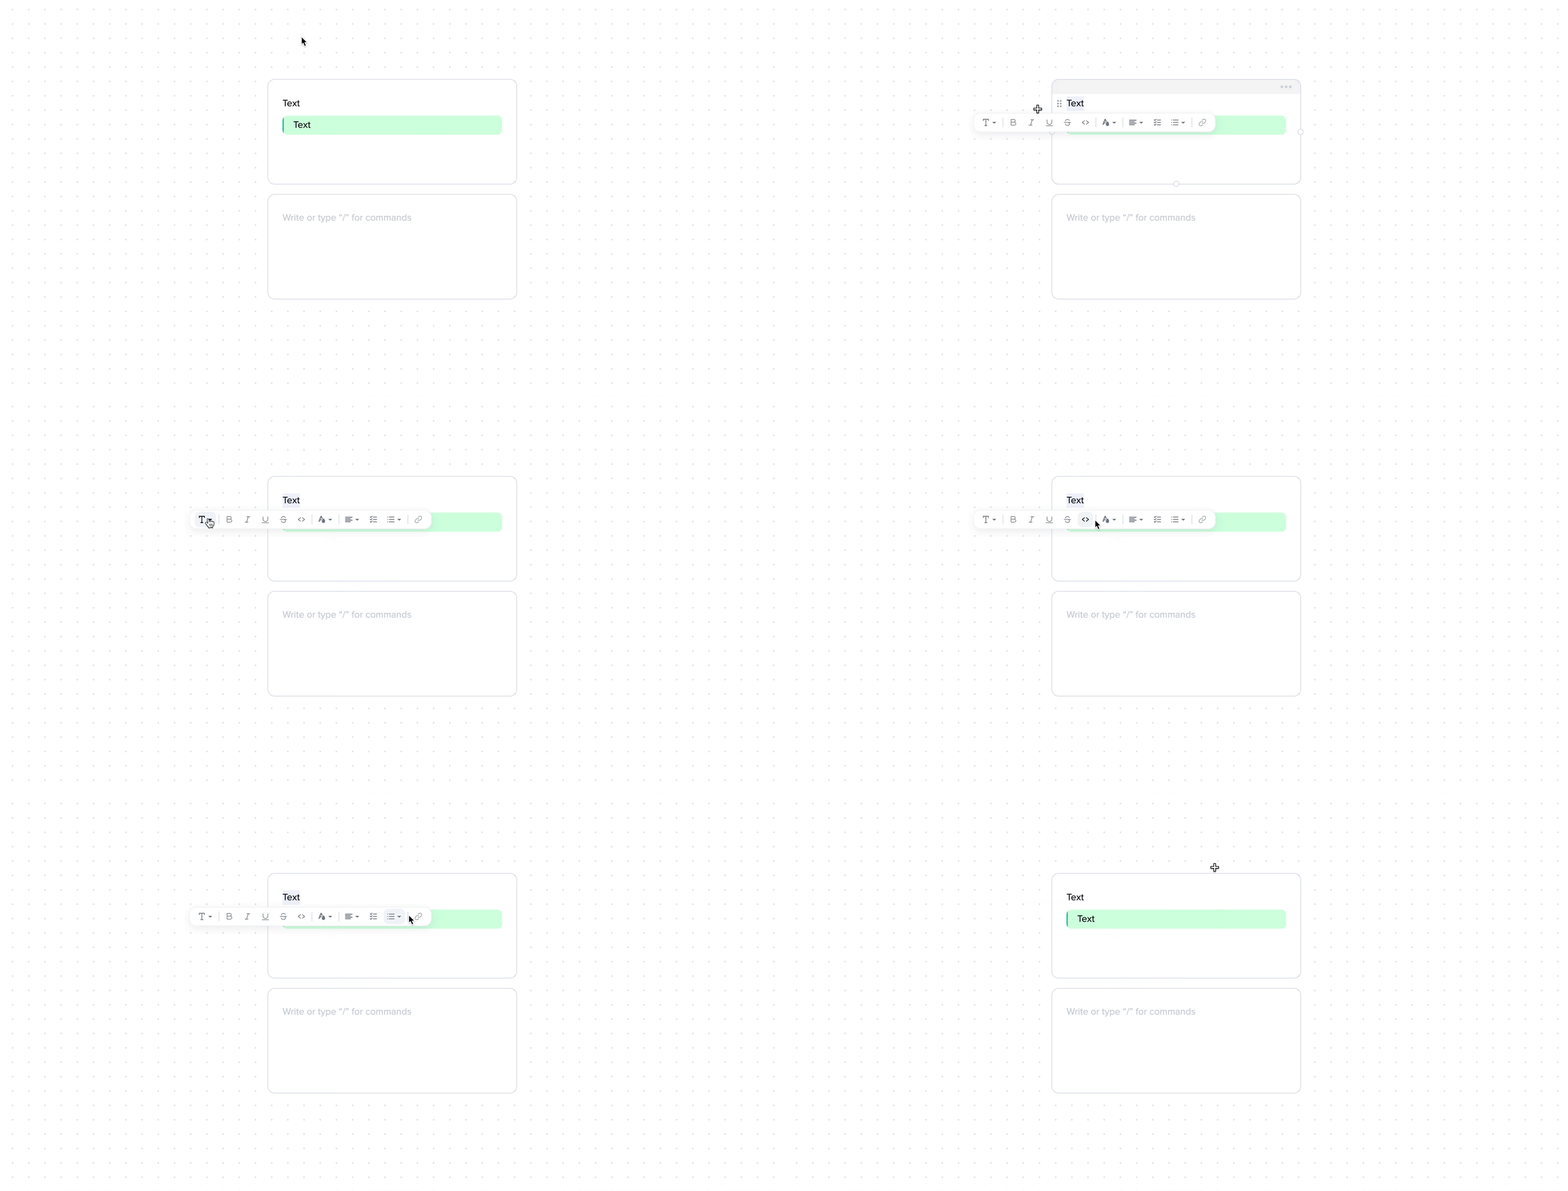
xTiles is equipped with all the text styling features you've come to expect. Highlight any text to see the editing menu, where you can access the following operations:
- Turn into: changes the type of block, affecting the entire block;
- Text styling: affects the selected text or selected block(s):
- Bold;
- Italic;
- Underline;
- Strikethrough;
- Code style;
- Text color;
- Highlight;
- Alignment;
- Tabulation;
- Change block type into a list in one click;
- Embed a link.
Organize and Modify Tile Content
Here are the basics of moving and structuring content on your page.
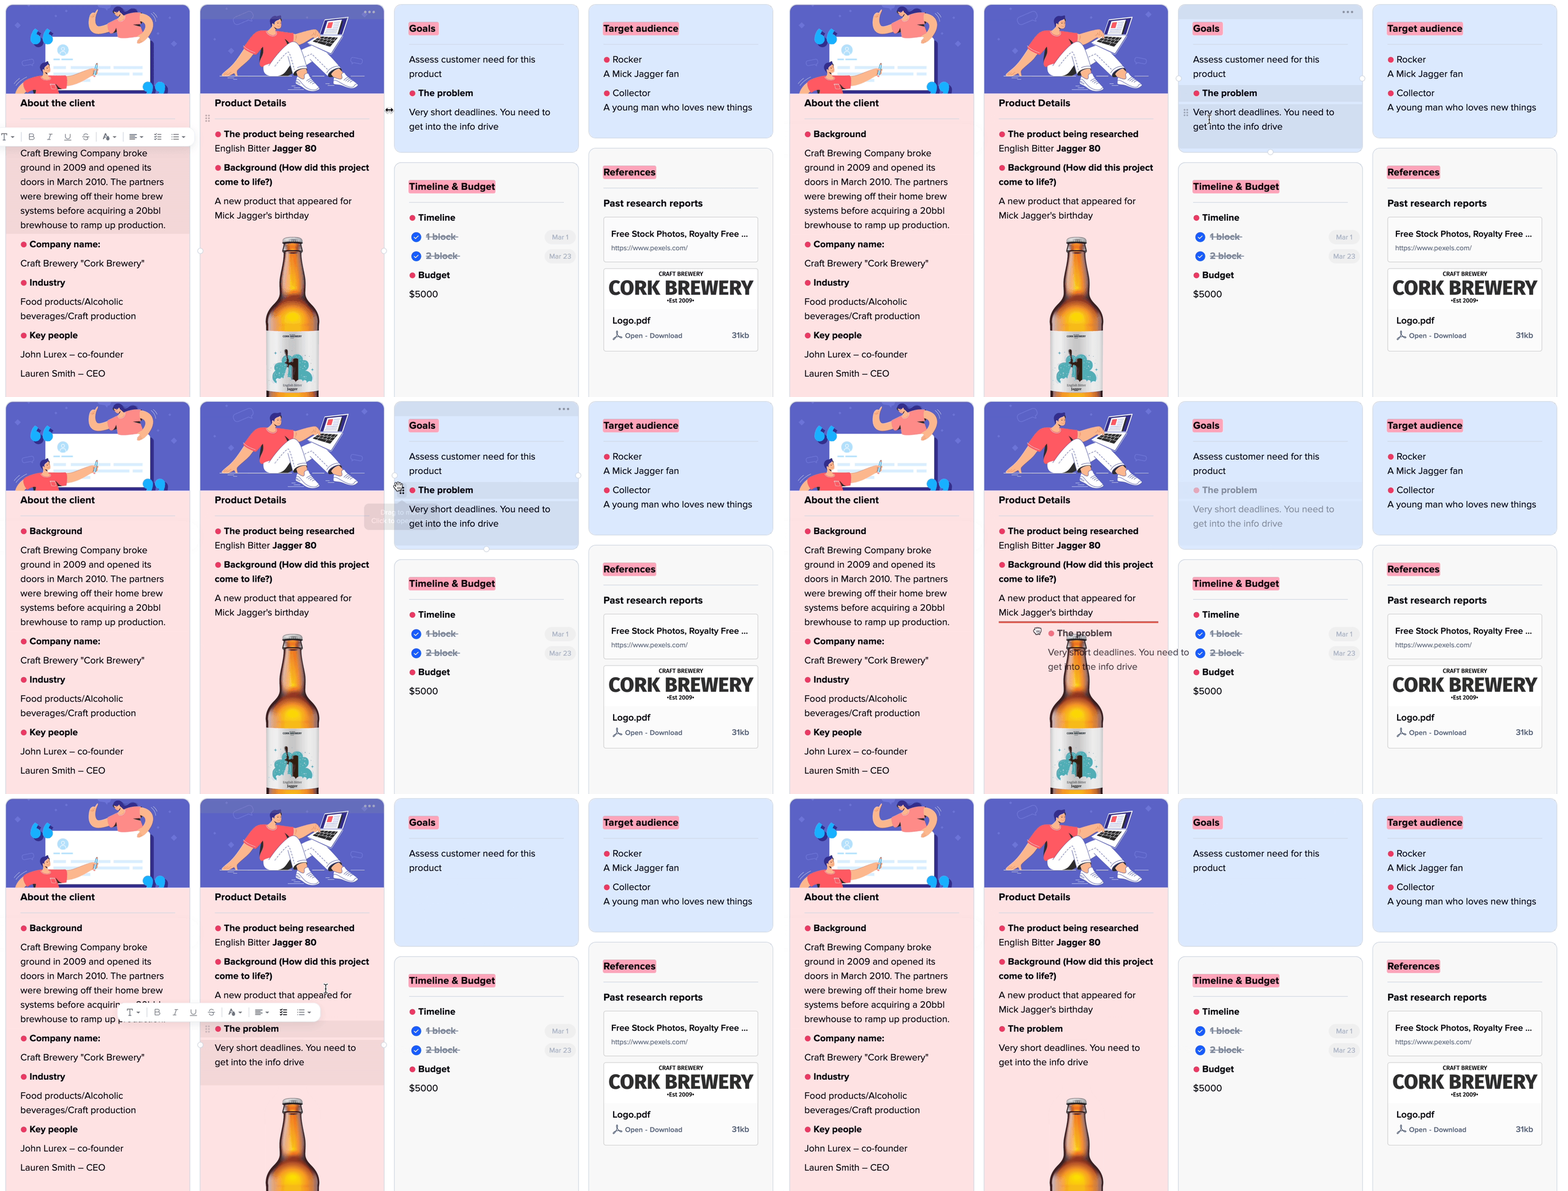
Select a block, click, and drag it to any tile on the canvas;
Dragging
Any content block in xTiles can be dragged around the canvas and even to other pages in the project.
- Hover over any block and use the ⋮⋮ icon that appears as a handle to drag the block.
- Blue guidelines will appear to show you where it will go.
- Release the mouse to drop the block or tile anywhere.
Multiple block dragging is easy - just select the ones you need and drag them!
Join our community and stay tuned for product updates
Learn more about our plans and available features, visit the pricing page and choose the best option that fits your workflow.
Stay updated on xTiles product updates with the changelog.
Join the xTiles community on Slack and Discord instead visit the Youtube channel and xTiles blog, and follow us on social media to stay informed about the latest news, updates, and great content!
Join our community and stay tuned
for product updates
Check-out our roadmap
Upvote and submit feature requests


